5.3 Configure device access control using local passwords
Remember that there are three ways to access a Cisco router: Telnet, SSH, and Console. And remember that when we create a local account, the password is stored on the router.
The old way to store passwords was in plain text. If we made a back up of the configuration, or if we chose to show the configuration on the router, the password would appear.
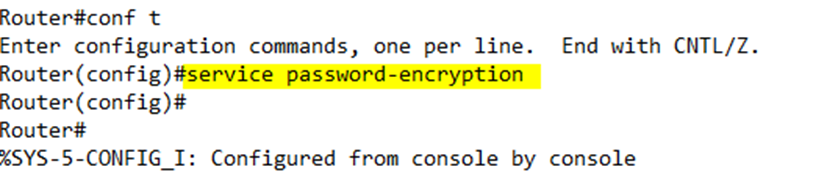
To avoid this, in the global configuration, we should type service password-encryption. This command encrypts the passwords that were created with the following commands
- The console password created with the password <password> command
- The console username/password combination created with the username <name> password <password> command
- The enable password created with the enable password <password> command
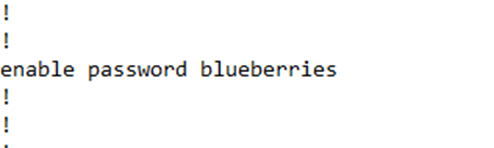
In my example, I chose a password called “blueberries”.

When I show my configuration, the password is stored in plain text
If I go back and enable the password encryption
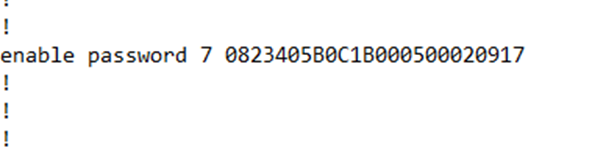
I see that my password has been changed to something encrypted. I also see the number “7” in front of the password. The “7” tells the router that the password has been encrypted, so that it knows that the random text that follows isn’t actually the password.
We can disable the encryption by typing no service password-encryption, but the router will not automatically decrypt the existing encrypted passwords – we would still need to change the password for it to be decrypted.
It is easy to reverse engineer the encrypted password that is created with this command via tools on the internet that use rainbow tables.
When setting the enable password, use the enable secret <password> command instead of the enable password <password> command. Why? The secret command encrypts the password. How does it work?
- When you create the password, the router hashes the password. It puts it through a one-way math equation that results in some random text. It is generally not possible to reverse this equation. The hash equation (or algorithm) is called MD5, but two other forms of hashes are available – SHA-256 and Scrypt. Both are more secure than MD5.
- The router stores the password hash.
- When you try to log in, the router puts the password that you entered through the same hash equation.
- The router compares the hashe it just calculated with the hash that it is storing and if they match, then the router knows you entered the correct password.
If you want to choose a different encryption method, type
- enable algorithm-type sha256 secret <password> for SHA-256
- enable algorithm-type scrypt secret <password> for Scrypt
On a router, I can configure both an enable password and an enable secret, but I can’t configure multiple enable secrets using different algorithms. If both are configured, the enable password command must have a different password than the enable secret command. If both are configured, the user is expected to enter the enable secret password – the router won’t accept the enable password password.
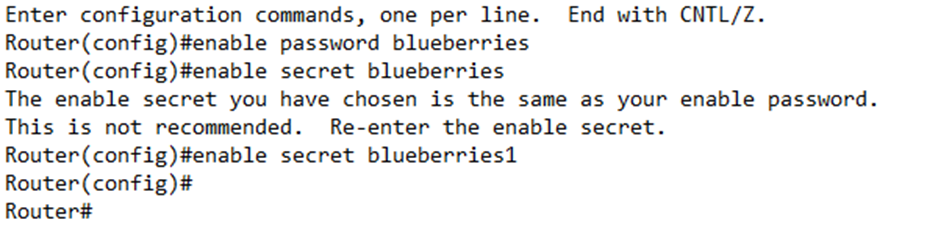
In my configuration, the secret is stored as “enable secret” and has a “5” in front of it. Notice that the secret is more complicated – it contains special characters that the password doesn’t have, even though we encrypted the password.

We can change any password by just typing the command again. For example, to change the enable secret, we would just type in enable secret <password> in the global configuration mode.
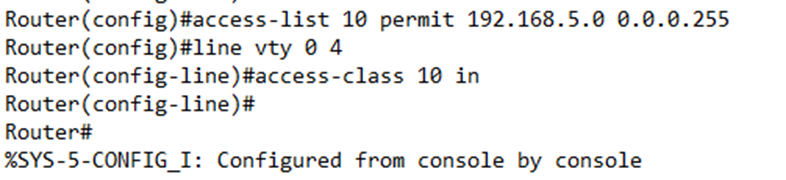
We can go one step further and restrict logins from specific IP addresses. If we know that logins to our router originate from a specific IP address or subnet, we can create a “permit” ACL. For example, if my logins originate from 192.168.5.0 to 192.168.5.255, I would create an ACL that says
access-list 10 permit 192.168.5.0 0.0.0.255
I could go back to my router configuration and add the access-class command. In particular, I would write
access-class 10 in
This command verifies that the user’s Telnet or SSH connection originates through the network specified by the ACL list number 10. Remember that a user can also connect to my router and then use it to Telnet or SSH into another router. I could write
access-class 10 out
The “out” in this command restricts connections to the network specified by ACL list number 10. The out command checks the IP address of the device that you’re trying to connect to against the ACL, not the IP address of the device that you’re trying to connect from.
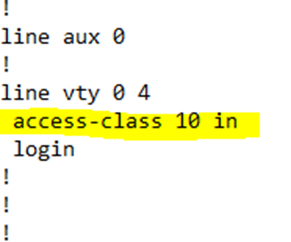
Remember that this happens in the “line vty” or “line aux” configuration. Below, I’ve configured an ACL, and then entered the “line vty 0 4” configuration to add that ACL to it.
If we look at the configuration, it now shows an ACL present on the line vty 0 4 section.